
My next step in the process is to turn the processed images that I described in the last post into knitting patterns. I personally use an application called stitch fiddle to create knitting charts like the one seen above from images.
This requires an iterative approach, as many choices have to be made at this time. The size, layout, legibility, and complexity are all determined by the knitting chart, and while some elements are done automatically through stitchfiddle, others require tweaking and testing on my end.
Stitchfiddle and Colorwork knitting
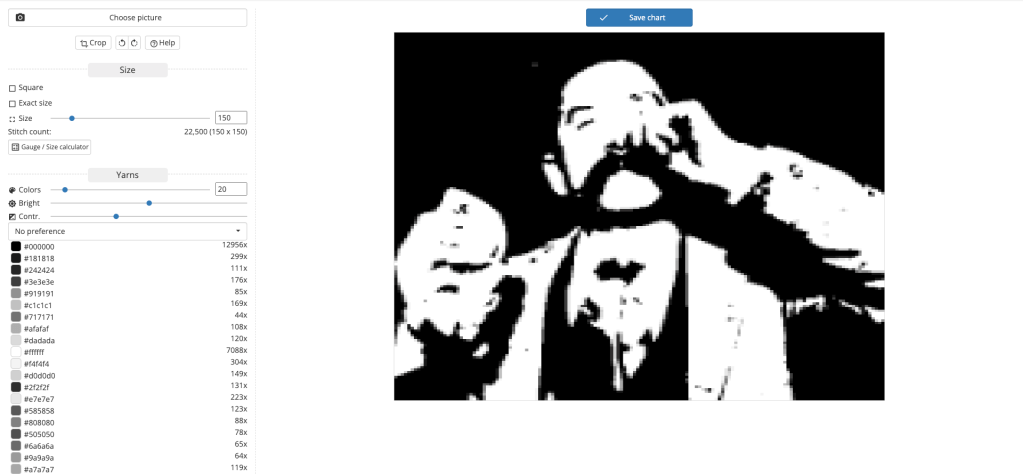
When importing an image into stitchfiddle to create a colorwork pattern, it automatically sets the size of the chart to be as legible as possible, in this case 150 by 15O, and it automatically sets the colors used in the chart to 20. It does this even with images that only contain two colors like the ones I created for this project.
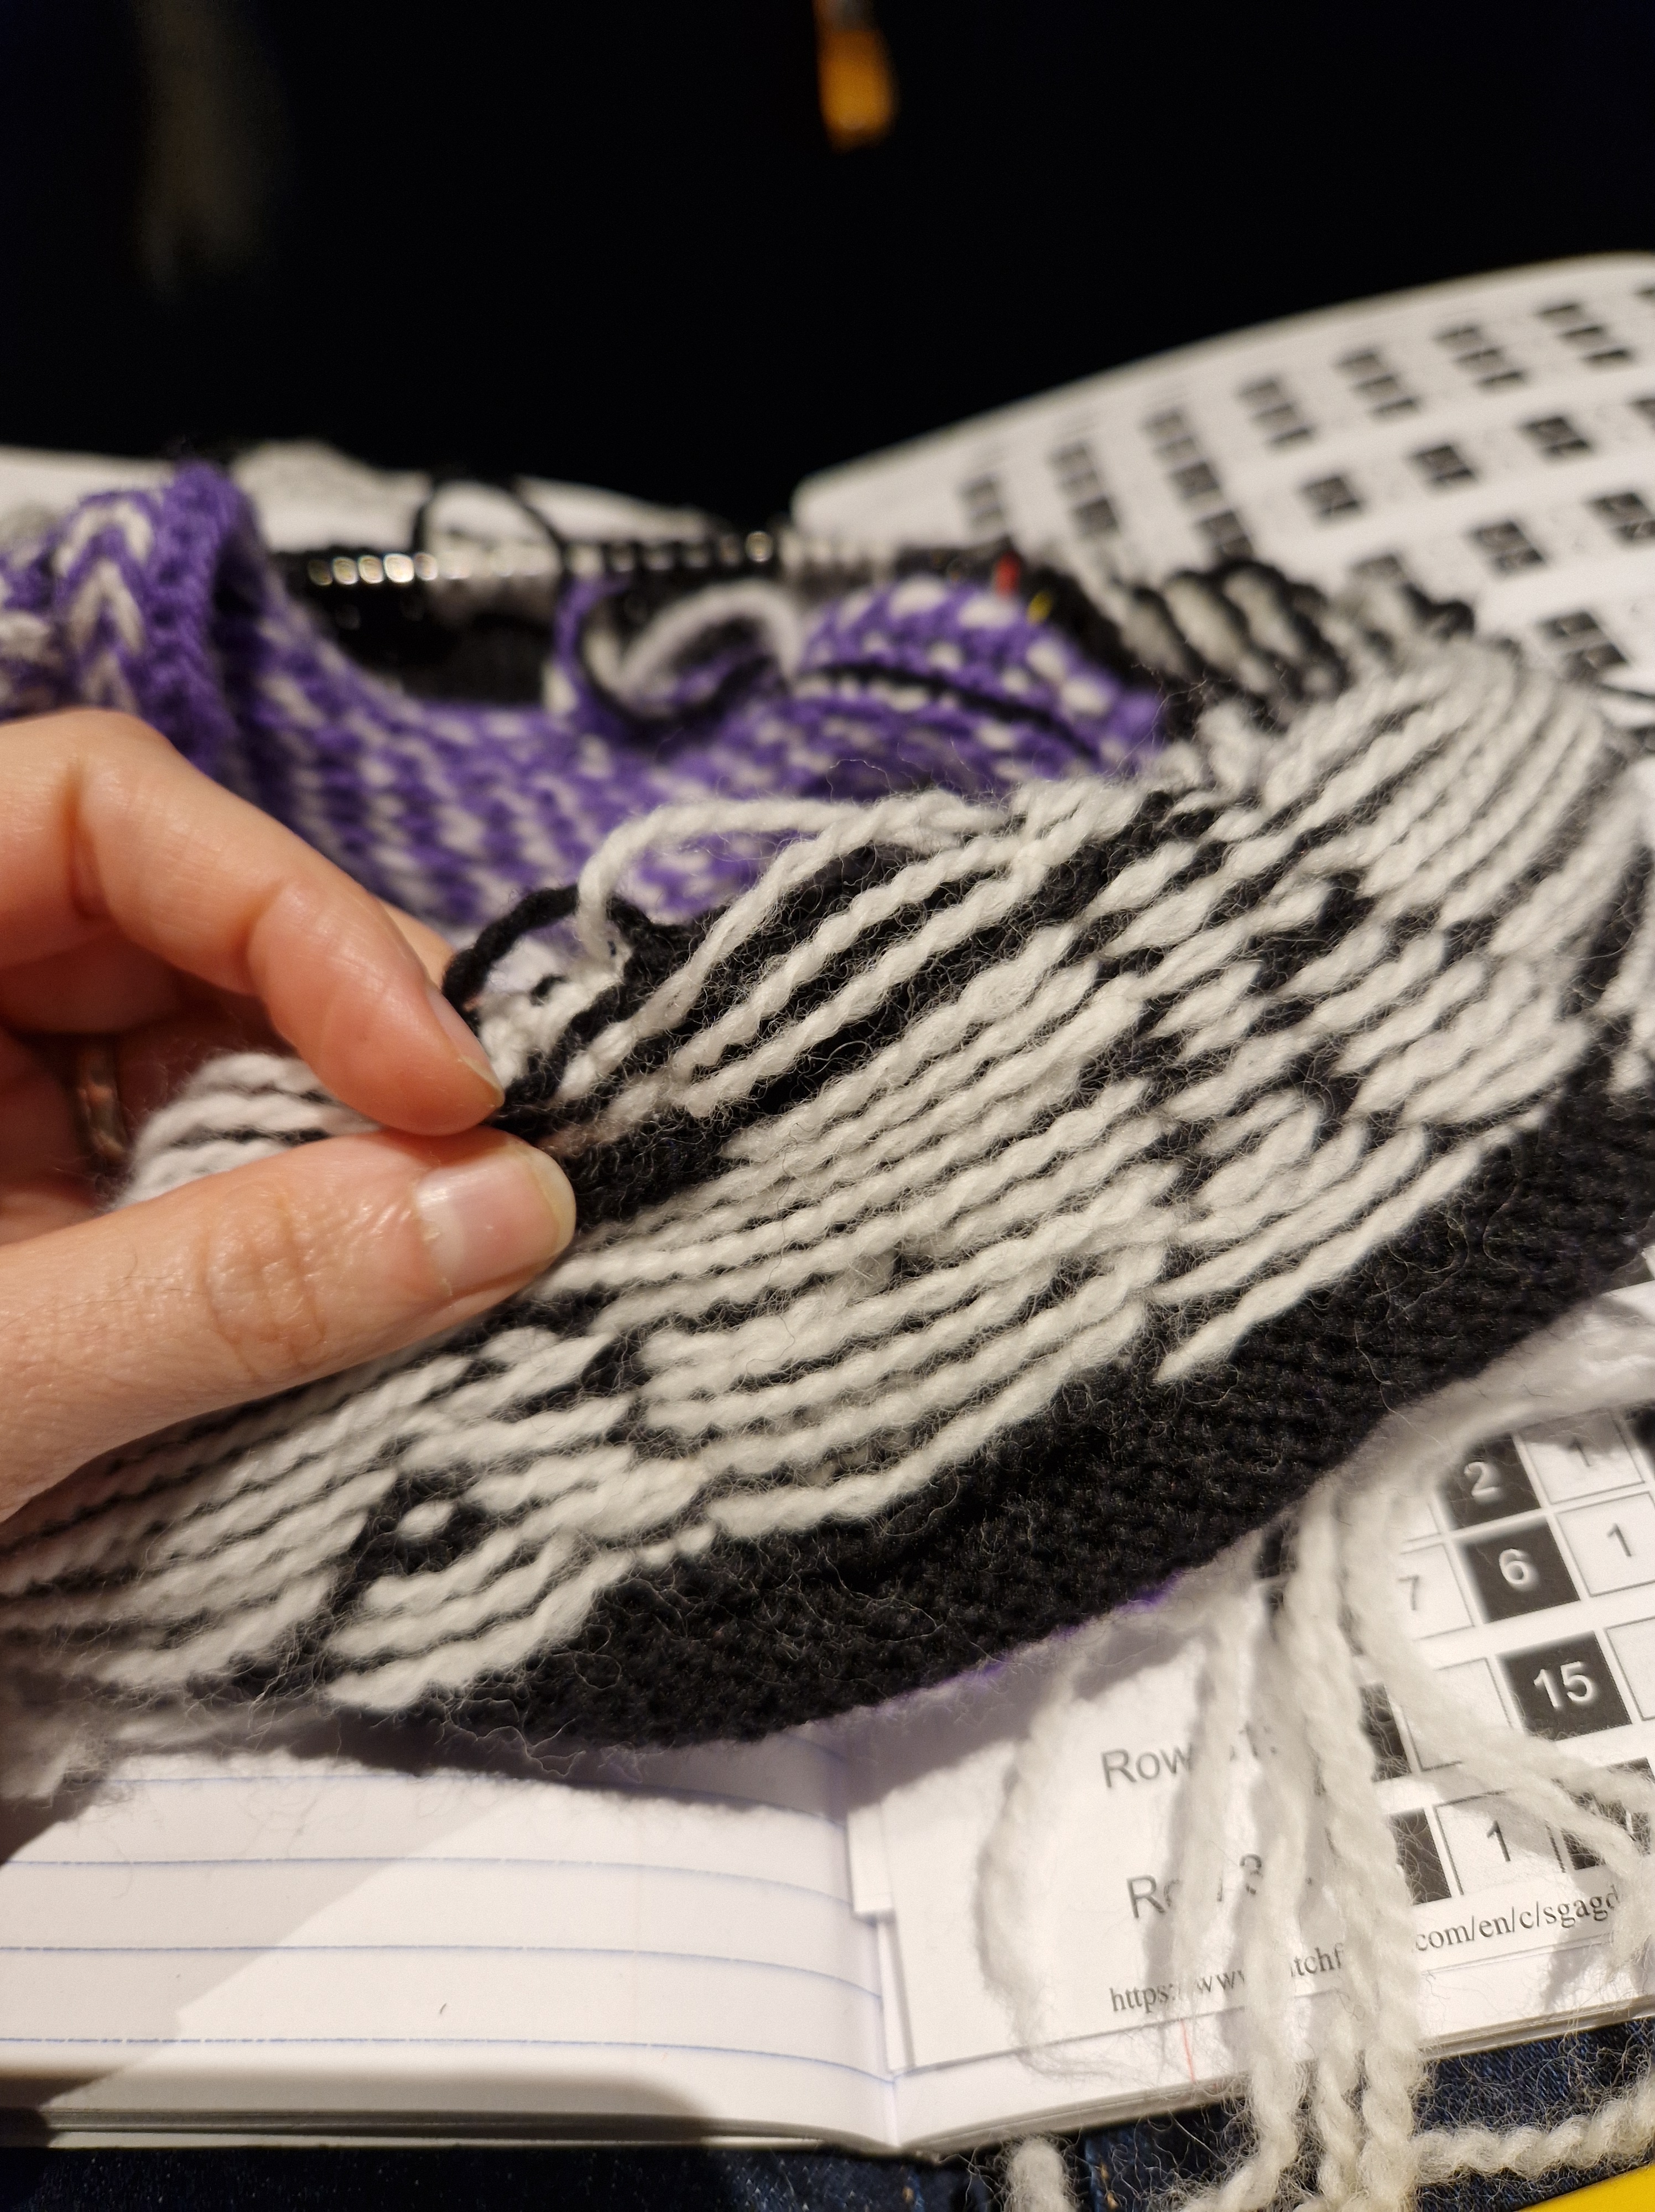


This project will be knit using a technique called stranded colorwork knitting. An example would be Fair Isle knitting or the hat above. Two or more colors are knit in the round, on circular needles resulting in the textile being created in a spiral. The color that is not being used is passed behind the stitch so that it is on the wrong side of the work, this thread in back is called a float.

My first step is always to reduce the colors down to two. While it is possible to knit with multiple colors while doing stranded colorwork knitting, each color requires a separate strand of yarn and which ever yarn is not being used has to be floated in back. This adds bulk to the finished fabric, it can result in issues with tension, and is harder to manage.
If the third color is used sparingly and repeats on rows rather than in columns, such as in the 9.5mm hat, this is generally manageable, but any third color in this project would pose an issue. This in part is why I spent quite a bit of time editing the initial images.
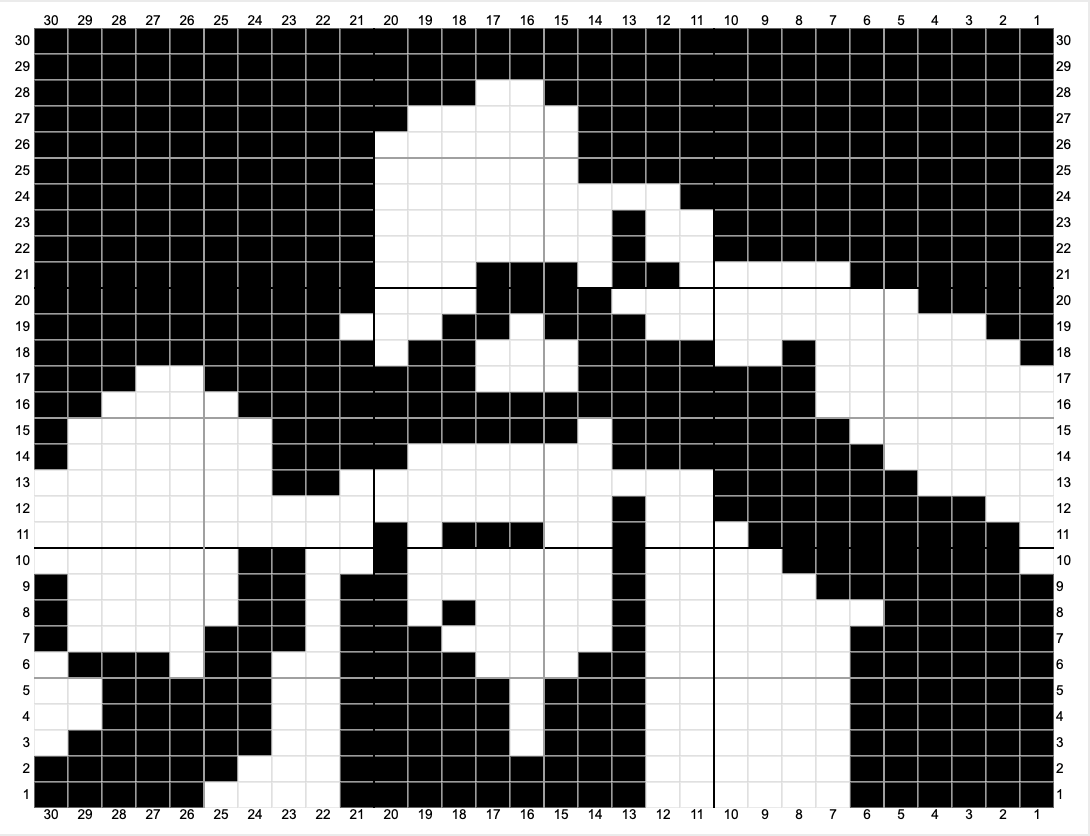
Choosing the size is a more complicated situation, as it has a huge impact on the overall size of the project and on the readability of the image. In the end I settled on a 40 by 40 grid, but also tested 30 by 30 grid by creating gifs using ffmpeg and by knitting a test square from both sizes.
At this stage, the plan was for this project to be a hat, and unfortunately the 40 by 40 grid is big enough to cause issues for the hat, so we decided to create a cowl.
Possible Variation
Here is the same frame of the 30 by 30 grid side by side with the 40 by 40 grid.

And here are the gifs of the two variations side by side.


In my next post, I will be going into the test knit and yarn selection process.

Leave a comment